Craving that crispy-on-the-outside, juicy-on-the-inside bite—without the drive-thru?
I make a copycat chick-fil version in my kitchen when I want the same comfort food at home. I write from my own experience as the author, so you can follow steps that work.
These strips get their name from three simple tricks: a tangy pickle-juice brine, a touch of sweetness in the breading, and frying in peanut oil for that golden crust. The goal is restaurant-style texture using grocery-store ingredients you can find today.
Depending on the day, I choose a true fried method for weekend indulgence or an oven route for a lighter weeknight meal. Both paths deliver the same familiar flavor and make this recipe worth trying.
Key Takeaways
- Simple pantry ingredients recreate the classic taste at home.
- Pickle-juice brine and correct thickness are the secrets.
- Fried method for authenticity; oven method for ease.
- I test both approaches in my kitchen for consistent results.
- This recipe focuses on strips but adapts to other shapes later.
What Makes These Chicken Strips Taste Like the Restaurant
The secret to a restaurant-like result starts long before the pan hits the oil. I begin by brining pieces in dill pickle juice because that salty, acidic bath helps the meat keep moisture and gives the familiar bite.
I brine for whichever fits my schedule: a minimum of 4 hours or the fuller effect at 8–12 hours in the fridge. More time deepens tenderness without turning the meat overtly pickled.
Next comes the subtle sweetness trick. I add a small amount of confectioners’ sugar to the flour mix. It gives the breading a barely-there sweet note that balances salt and spices like the chain’s coating.
- Pound tenders or strips cut from breast to about 1/4-inch for even cooking.
- I pound inside a zip-top bag to keep cleanup simple and the surface clean.
- Brine + sweetened flour + uniform thickness is the easiest way I’ve found to match that restaurant bite.
Ingredients and Prep for chick fil a chicken strips at Home

My prep plan starts with what I buy and a simple brine. I pick ready-made chicken tenders when I want speed, or buy a breast to slice even pieces when I’m meal-prepping.
Brine setup: I place chicken in a large bowl or zip-top bag, pour in enough pickle juice to cover, add a splash of dill if I have it, then refrigerate. Typical brine time is at least 4 hours, or 8–12 hours when I plan ahead.
For the dry mix, I combine flour, paprika, garlic powder, onion powder, celery powder, salt, and pepper. I add a touch of confectioners’ sugar so the breading tastes balanced and not flat.
Optional upgrade: For a thicker crust—especially for oven versions—I stir whole wheat Panko into the mixture for extra crunch.
My egg wash is simple: egg plus milk in one bowl, the dry mixture in another. I set up a tidy bowl-and-dredge station, use wet-hand/dry-hand to place chicken, shake off excess, and press the coating in lightly so the crust sticks without getting gummy.
- I buy tenders for convenience or breast to cut uniform strips.
- I brine long when I can, short when I must.
- Consistent setup makes the cooking step stress-free.
Cooking Methods I Use: Skillet-Fried or Oven-Baked Chicken Tenders

When it’s time to cook at home, I choose one of two simple methods that deliver great texture fast. Each method is practical for weeknight meals or an indulgent weekend dinner.
Skillet method
I heat oil about 1/4-inch deep in a skillet and fry tenders roughly 4–5 minutes per side until the breading turns golden. Working in batches keeps the pan temperature steady and reduces fat absorption.
Oven method
For a lighter lunch, I bake at 425°F on a parchment-lined sheet. I mist the tops with oil, bake ~10 minutes, flip, then 5–7 more minutes until the crust is golden and the meat is done. This lowers points and keeps kids happy.
Doneness, draining, and serving
I check doneness by color and a firm crust. I drain hot pieces on paper towels, let them rest briefly, and avoid stacking so the crust stays crisp.
Dipping sauces and easy variations
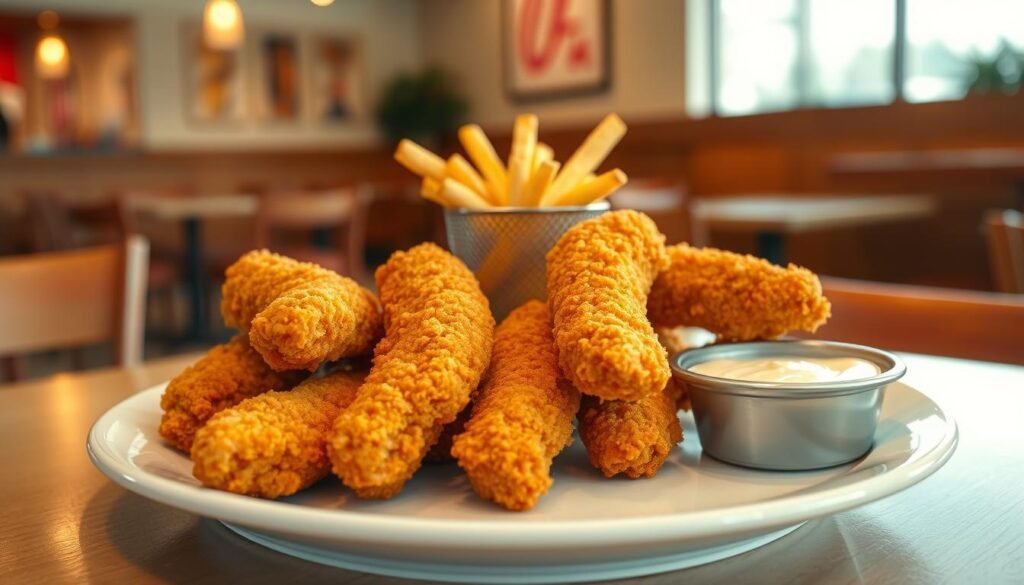
- I serve two sauces—one creamy, one tangy—for balanced dipping.
- Cut the same pieces smaller for nuggets or place one on a toasted bun for a sandwich with pickles.
- These recipes scale for family meals and quick after-school snacks.
Conclusion
My closing thought: the same three steps—brine, sweetened coating, and hot cooking—unlock that familiar bite at home.
This recipe centers on those pillars. Brine for tenderness, season the coating well, then cook hot to set a crisp crust. Choose skillet for the most classic crunch or oven for a lighter finish.
Make this copycat chick-fil method your own. Swap sauces, cut into smaller pieces, or turn strips into sandwiches. Once brine-and-dredge feels natural, consistent results follow every time.