Have you ever wondered if you can recreate a famous fast-food chocolate treat at home and match its creamy, nostalgic taste?
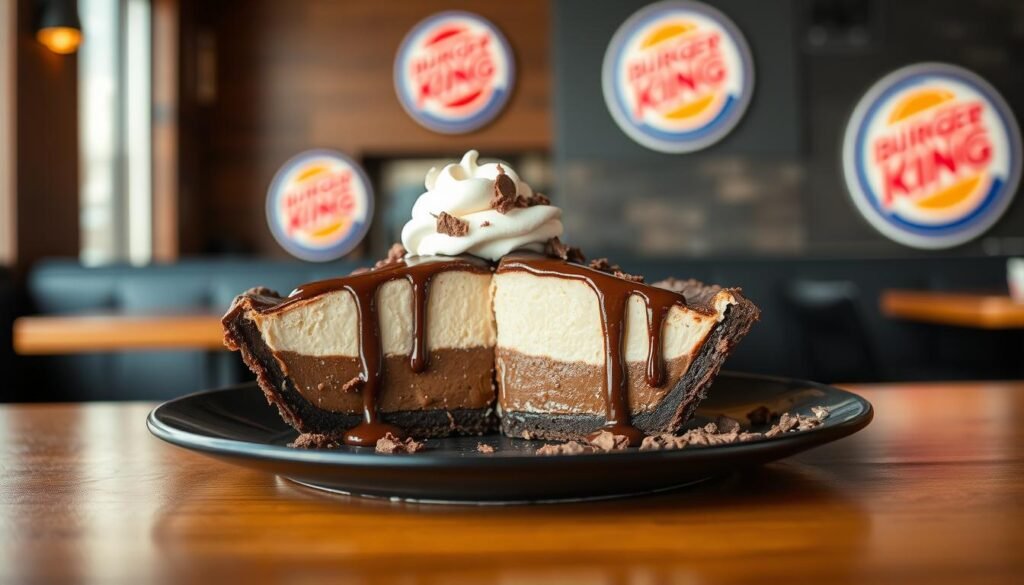
I love making a copy of the burger king hershey pie in my kitchen because it captures that classic chocolate flavor without a drive-thru run. Since 1954, the brand has been a staple in American dining, and the hershey sundae pie remains a fan favorite.
My simple recipe uses a rich chocolate filling and a light whipped topping for the perfect finish. It is a quick dessert that feels decadent but is easy enough for a weeknight. I find this sundae pie is ideal for any occasion when you crave a fast chocolate fix.
Key Takeaways
- You can recreate the classic fast-food chocolate dessert at home with simple steps.
- The homemade version balances a rich chocolate filling with a light whipped topping.
- This recipe channels the flavor of the hershey sundae without a restaurant visit.
- The dessert is quick to assemble and works for casual or special moments.
- Since 1954, the brand’s desserts have been a nostalgic American favorite.
Why I Love Making This Burger King Hershey Pie at Home
This homemade version saves time and still hits the spot when I want that classic chocolate treat. I skip the drive and get straight to assembling a rich, no-bake chocolate pie that chills in the fridge while I relax.
I always use full fat cream cheese to create a silky filling that mirrors the dense, creamy texture of the original. The fat gives body and depth to the chocolate flavor without extra fuss.
The contrast between a buttery pie crust and a smooth cream cheese filling makes the texture irresistible. I top it with light whipped topping for a fresh counterpoint to the deep cocoa notes.
- I can mix the filling in minutes, so this sundae pie saves time compared to going out.
- It’s a no-bake recipe that sets nicely in the fridge, making it ideal to prepare the night before guests arrive.
- Even novice cooks find the mixing steps straightforward, and the result feels decadent.
This king hershey inspired dessert is now a staple in my recipes collection whenever I want a quick, creamy treat that satisfies chocolate cravings.
Essential Ingredients for Your Chocolate Dessert

A short shopping list sets you up to build a silky, layered chocolate treat at home. I keep this section focused so you can gather everything quickly and get to assembly.
The Crust Options
Pre-baked pie crust saves time and keeps the base crisp. I often use a graham cracker crust or a chocolate crust for extra depth.
Filling Components
- 8 oz cream cheese, softened — the fat gives a smooth, rich foundation.
- 3/4 cup powdered sugar to sweeten the cream cheese base without grit.
- 8 oz Cool Whip and 1 tsp vanilla extract to lighten the filling and add vanilla flavor.
- For the chocolate layer: 1.5 cups milk mixed with a 3.5 oz box of Hershey’s instant chocolate pudding mix for the signature chocolate flavor.
Tip: Make sure the cream cheese is fully softened before mixing to avoid lumps in your filling. Using quality ingredients makes this simple dessert taste like a classic hershey sundae inspired chocolate pie.
Preparing the Creamy Filling and Chocolate Layers

Get your tools ready and work in stages. Clear counter space and set a mixing bowl, whisk, and a small pot nearby. I find staging my ingredients keeps the process smooth and saves time.
Mixing the Cream Cheese Base
In a large mixing bowl, I blend the cream cheese, powdered sugar, Cool Whip, and vanilla extract until smooth. Use room-temperature cream cheese so the cheese mixture goes lump-free.
Pour this cream cheese mixture over your pre-baked pie crust and place the pie in the fridge for at least 2 hours. Chilling lets the base set firmly before you add the chocolate layer.
Cooking the Pudding
Combine milk and instant chocolate pudding in a small pot. Cook over low heat for a few minutes, stirring constantly until the mixture thickens.
I recommend using a whisk to make the pudding perfectly smooth — this step protects the final texture when you add layers.
Assembly Steps
Once the cream layer has chilled, pour the warm pudding over it and return the pie to the fridge until fully set, usually a few more hours.
“Refrigerate after each layer to keep clean slices and stable layers.”
- Before serving, add a topped whipped layer and sprinkle chocolate chips for a restaurant finish.
- This chocolate pie contains about 450 calories per serving, so serve in mindful portions.
Pro Tips for the Perfect Texture

Small technique changes make a huge difference in how the chocolate filling sets and how each layer holds up when sliced.
I always use full fat cream cheese to give the cream layer body and prevent a thin, runny filling. Chill the cream cheese and use a chilled mixing bowl to keep air in the cheese mixture and whipped topping.
Cooked pudding tastes better than instant if you have the time. Stir milk and instant pudding over low heat for a few minutes to thicken and smooth the chocolate layer.
- Refrigerate each layer for at least hours — I recommend a minimum of 2 hours before slicing.
- Add the topped whipped layer and chocolate chips right before serving to preserve crisp texture.
- Store leftovers in an airtight container to protect the crust and cream base.
Be patient with chilling. A rushed dessert often means a runny serving. Let layers firm fully in the fridge so the flavor and texture stay balanced.
Storing and Freezing Your Homemade Pie

How you store this dessert makes a big difference in texture and flavor over several days. I cover the pie and keep it in the fridge for up to 4 days to protect the crust and cream layers.
Fridge storage: Place the pie in a container with a lid or wrap it tightly in plastic. A plastic lid over the pie crust helps keep the crust crisp and the whipped topping fresh.
Freezer guidelines: If I want longer storage, I wrap the whole pie in plastic and use a freezer-safe container. Properly wrapped, it will keep up to 6 months.
“Thaw frozen slices in the fridge for several hours or overnight to restore texture.”
- Freeze single slices in a container for easy portion control and less time to thaw.
- Check freezer temp to avoid ice crystals on the whipped topping.
- When ready to serve, thaw in the fridge for a few hours so the filling and crust set properly.
Conclusion
Recreating a restaurant-style chocolate dessert in my kitchen is rewarding and simple. This version channels the classic burger king hershey sundae pie into a family-ready dessert you can finish in minutes.
I layer a creamy filling over a crisp crust, add the whipped topping and chill. Follow the recipe steps and wait the recommended hours for firm slices. Patience makes the texture and flavor shine.
I hope this chocolate pie becomes one of your favorite recipes. It works for holidays or a quick weeknight treat and brings a bit of restaurant-quality joy to your table.