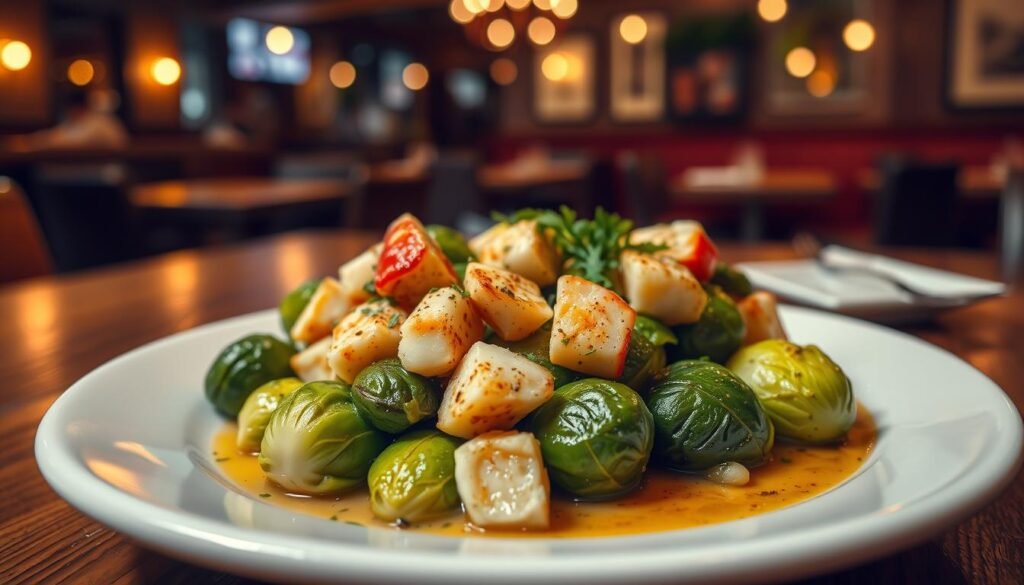
I’m obsessed with this copycat red lobster brussel sprouts recipe because it nails that restaurant feel at home.
I get a crispy outside and a tender center every time by using an air fryer or the oven. The secret is a sweet-and-salty soy-ginger glaze and a scatter of crunchy fried onions that finish the dish.
My method is simple: quick prep, roast or air-fry until golden, reduce the glaze in a small pan, then toss and top just before serving. I treat the sauce like the main character while the sprouts deliver texture.
This lobster brussels sprouts side dish works for weeknight dinners, holiday plates, or any copycat craving. I’ll share both air fryer and oven options, and point out the key wins: don’t overcrowd, don’t burn the sugar, and keep the fried onions crunchy until the last second.
Key Takeaways
- Use an air fryer or oven for crisp texture without deep frying.
- The glaze (soy + sweetener + ginger/garlic) drives the flavor.
- Cook in a single layer—avoid overcrowding for even browning.
- Reduce the sauce gently to avoid burning the sugar.
- Add crispy fried onions at the end to retain crunch.
Why I Love This Copycat Red Lobster Side Dish
I keep coming back to this copycat red lobster brussels recipe because it hits the sweet, salty, crunchy combo I want every time. The glaze is glossy and concentrated, so it clings to each bite instead of pooling.
Sweet, salty, crunchy: the texture combo I aim for every time
I chase browned, crispy outer leaves with a tender, meaty center. A sticky glaze gives a rich finish that reads like a restaurant plate.
No deep frying at home: how I get restaurant-style crispiness
I skip deep frying to avoid the mess and excess oil. Instead, I use hot circulating air in my fryer with a light oil spray and space between pieces so they brown instead of steam.
The crunch isn’t just from the sprouts — a scattering of crispy fried onions adds the final layer that makes this side memorable. Next, I’ll break down ingredients, prep, glaze technique, and both air and oven methods.
“The ideal bite is sweet, salty, and crunchy.”
- Texture contrast: browned leaves + tender center
- Bold enough to serve with lobster, chicken, or steak
- Air-fryer trick: hot air + light oil + single layer
Ingredients I Use for red lobster brussel sprouts

My ingredient choices create the glossy, savory-sweet finish this dish is known for. Below I list what I use and why each item matters to the final flavor and texture. Measurements live in the recipe card; this section focuses on choices and swaps.
Fresh brussels sprouts: why I skip frozen
I always buy fresh brussels sprouts because frozen ones hold extra water. That moisture fights browning and makes it harder to get crisp edges.
Fresh pieces crisp faster in the air fryer or oven and give a nutty, toasted flavor you want in lobster brussels sprouts.
Crispy fried onions: the topping that matters
Crispy fried onions (think French fried onions) are non-negotiable for me. They add a savory, toasted onion note and a crunchy contrast that lifts the whole dish.
Glaze base: soy sauce, brown sugar, ginger, garlic
My glaze starts with soy sauce for salt and umami, brown sugar for a deep caramelized sweetness, and fresh or paste ginger + garlic for warmth. I choose a light or lower-sodium soy if I want to dial back salt.
Tip: brown sugar gives that sticky gloss that clings to leaves while a splash of oil helps the sauce spread evenly.
Optional add-ins and shopping notes
- Sesame oil or a pat of butter for extra richness.
- Grated Parmesan at the end for a savory edge.
- Pantry-stable: fried onions, soy sauce, sugar. Buy fresh: sprouts, ginger, garlic.
My Quick Prep Before I Turn on the Heat

My prep routine gets everything in order so the actual cooking stays fast and accurate. I start at the counter with a cutting board, a sharp knife, and a bowl for trimmed waste. That short setup saves minutes once the heat is on.
How I trim, half, and handle loose outer leaves
I trim the dry root end, then slice each vegetable in half to expose more surface for browning. When a piece is small and tight, I leave it whole for a chewier bite.
I always keep loose outer leaves. Those thin pieces become the crispiest chips in the air fryer or oven. I remove only bruised or discolored leaves so every bite has great texture.
What I set out first so cooking goes fast
My mise en place is simple: measure the sauce ingredients, set the fried onions in a sealed container, and place the serving bowl nearby. I dry the pieces thoroughly after rinsing—surface moisture kills browning.
- Trim root ends and halve for more surface area.
- Keep loose leaves for crisp chips.
- Have sauce measured, onions closed, and bowl ready.
Note: This recipe moves quickly in an air fryer, so having everything ready prevents overcooking and saves time. Keep the fried onion container closed until serving to preserve crunch.
How I Make the Sweet Soy-Ginger Glaze in a Small Saucepan

My glaze starts on low heat in a small saucepan, where simple ingredients turn into something sticky and bright. I combine soy sauce and brown sugar first, then add a splash of water when needed to loosen the mixture.
My ratio and flavor approach
I aim for sweet-salty balance: sugar plus soy creates the base, and grated ginger with minced garlic builds the aroma. A little sesame oil or butter at the end adds roundness if I want richness.
How I thicken it properly
I keep the saucepan over medium-low heat so the mixture reduces gently. When the glaze coats a spoon and I can draw a line through it that holds for a moment, it’s done.
The key step
Stir constantly as it concentrates. Sugar scorches fast once water evaporates, so steady movement and moderate heat prevent bitter spots.
Make-ahead timing
I cool the sauce fully before tossing so it thickens and clings to the pieces instead of running off. The glaze stores well up to 2 days in an airtight jar and reheats on low for a few minutes before serving.
- Visual cue: coats a spoon, leaves a temporary groove.
- Heat tip: medium-low to keep a gentle simmer.
- Customize: more ginger for bite, a pat of butter for silk, few drops of sesame oil for aroma.
My Air Fryer Method for Crispy Brussels Sprouts

When I use an air fryer I focus on hot, fast circulation to lock in crisp edges without extra oil.
Temperature and time: I set the machine to about 375°F and check at 10–12 minutes. Depending on size, I may push to 14–15 minutes until the cut sides are deeply browned and leaves look blistered and dry rather than wet.
What golden brown looks like: browned cut faces, blistered outer leaves, and a matte, not soggy, surface. That visual cue tells me the pieces are ready for the glaze.
Basket setup and mid-cook shake
I spray the basket lightly with oil, add the brussels sprouts in a single layer, and leave space so hot air can circulate. If the basket is small I shake or toss halfway through to redistribute pieces for even browning.
Batch cooking and seasoning timing
I run multiple batches rather than crowd the basket—steam kills crunch. I usually skip extra salt before cooking because the soy sauce glaze supplies plenty of seasoning. A light oil spray helps browning without making the pieces greasy.
Finish fast: once crisp, I move quickly to saucing and serving so the texture holds.
My Oven-Roasted Option (When I’m Not Using an Air Fryer)
For big batches I lean on my oven because it gives consistent browning across a full pan. I reserve the oven for holiday trays or when I need more volume than a single air fryer basket allows.
Baking sheet setup and spacing
I line a rimmed baking sheet with parchment for easy cleanup and to prevent sticking. Wide spacing matters — each piece needs room so hot air can move and caramelize the surfaces.
Roast guidance and mid-roast stir
I roast at about 400°F and usually set a timer to check after 15 minutes. At that point I stir or flip the halves so more cut surfaces brown evenly.
Timing, oil, and overcrowding
Small, well-spaced batches take roughly 15–20 minutes. If the pan is crowded expect 30–35 minutes as steam slows the cooking and blocks caramelization.
- Cut side down: I start with the cut halves on the pan to maximize browning.
- Light oil: A little oil or a butter/oil mix boosts color but I keep it minimal so the final glaze stays crisp.
- Finish hot: I move the roasted pieces straight to a bowl while hot so I can sauce them right away.
“Oven roasting lets me handle volume without losing the crisp texture I want.”
How I Assemble and Serve Them Like Red Lobster
When plating, my main aim is to lock in crunch while giving every bite a glossy soy-ginger hit. I move fast so the texture holds and the flavor reads bold on the plate.
Toss vs. spoon: two ways I coat the pieces
Tossing in a bowl gives full coverage. I add part of the glaze, toss, taste, then add more so I don’t drench and soften the edges.
Spooning the sauce over a piled serving dish keeps more crisp surface exposed. I spoon when I want maximum crunch and a glossy top coat.
How I finish with crispy fried onions (and when I sprinkle them)
I always add the crispy fried onions at the last second. Right on top, they stay crunchy and don’t soak up the sauce.
I like the presentation like the restaurant: a shiny pile in a serving dish, a generous top of fried onions, and a light sprinkle of Parmesan if I want savory balance.
- Timing: assemble just before serving to preserve texture.
- Amount: start with part of the glaze, taste, then finish.
- Serve: as a side with seafood, chicken, or steak.
“Pile them shiny, top with fried onions, and serve right away.”
Recipe Variations I Make When I Want to Switch It Up
When I want a fresh take on this side dish, I keep the same quick cook method but change a few flavor players. Small swaps change the mood without adding fuss.
Spicy lift
I stir a spoonful of sriracha or a pinch of chili flakes into the glaze near the end of reduction. This keeps the heat bright and prevents the spice from dulling with long cooking.
Other vegetables
Broccoli florets or green beans take the same sauce well. Roast or air-fry them until edges blister, then toss in the glaze for a fast, tasty swap.
Sweetness and savory swaps
To cut sugar, I reduce the brown sugar called for in the recipe. For a different note I replace part of it with honey or maple syrup.
For more savory depth, I add diced bacon near the end of oven roasting so it crisps without burning, then mix everything with the glaze and fried onions.
- Keep the rules: reduce the sauce until it coats, and don’t crowd the pan.
- Lighter option: skip the fried onions if you want fewer crunchy toppings.
“Tiny changes make the same recipe feel new in minutes.”
My Best Tips for Maximum Crunch and Flavor
I rely on clear rules—space, heat, and timing—to keep every piece crisp and flavorful. Follow these small habits and the texture and taste improve dramatically.
The biggest crispiness killer: overcrowding
I never overcrowd because crowded pieces steam and turn soft instead of browning. Moisture needs room to escape; if it can’t, condensation blocks caramelization.
Practical fixes: cook in batches in the air fryer, or use two baking sheet pans in the oven so hot air flows around each piece.
Choosing a soy sauce I actually like
Because soy sauce is the dominant flavor in the glaze, I use a bottle whose taste I enjoy. If the soy is high in salt, I skip pre-salting the vegetables.
This keeps the final flavor balanced and prevents an overly salty finish.
How I keep fried onions crunchy until serving time
I store fried onions sealed and add them at the very end. Don’t let them sit under sauce or they will soften fast.
For buffet-style meals I set onions on the side so guests can top their own plate right before eating. That preserves crunch and delivers the best texture every time.
How I Store and Reheat Leftovers (So They Don’t Get Tough)
My go-to storage trick is simple: I store the sauce, cooked brussels sprouts, and crispy fried onions separately so each part keeps its ideal texture.
Refrigerating in an airtight container: what lasts best and how long
I cool items to room temperature, then move them into an airtight container before placing in the fridge. For best quality I eat leftovers within about 3 days even though some sources stretch that longer.
Reheating in the air fryer or oven: my method to avoid over-crisping
When I reheat, I use the air fryer at a lower setting—around 325°F—for about 4–5 minutes, checking early so the sugar in the glaze doesn’t burn.
In the oven I use moderate heat and sometimes tent foil to stop the exterior from hardening before the center warms through.
If I’m making ahead: why I store sauce, sprouts, and onions separately
I keep the sauce/glaze in one container, the cooked sprouts in another, and the onions sealed apart. Never reheat with fried onions on top—add them just before serving.
- If the glaze tightens in the fridge, warm it gently and add a splash of water to loosen.
- Short reheating time and low heat protect texture; avoid long high heat that toughens pieces.
Conclusion
In short, a few smart steps deliver a crunchy, saucy plate that tastes like takeout without the fuss. My core formula is simple: crisp brussels sprouts + a sweet soy-ginger glaze + crispy fried onions. That trio makes this copycat red lobster brussels approach sing as a reliable side for weeknights and gatherings.
I favor an air fryer for speed and an oven for volume. Watch for golden brown edges and a reduced glaze that coats a spoon — those cues matter more than exact minutes.
Top tips: don’t overcrowd, stir the sauce so sugar doesn’t burn, and add fried onions last. Make the recipe once as written, then tweak the sweetness and ginger to match your taste next time.